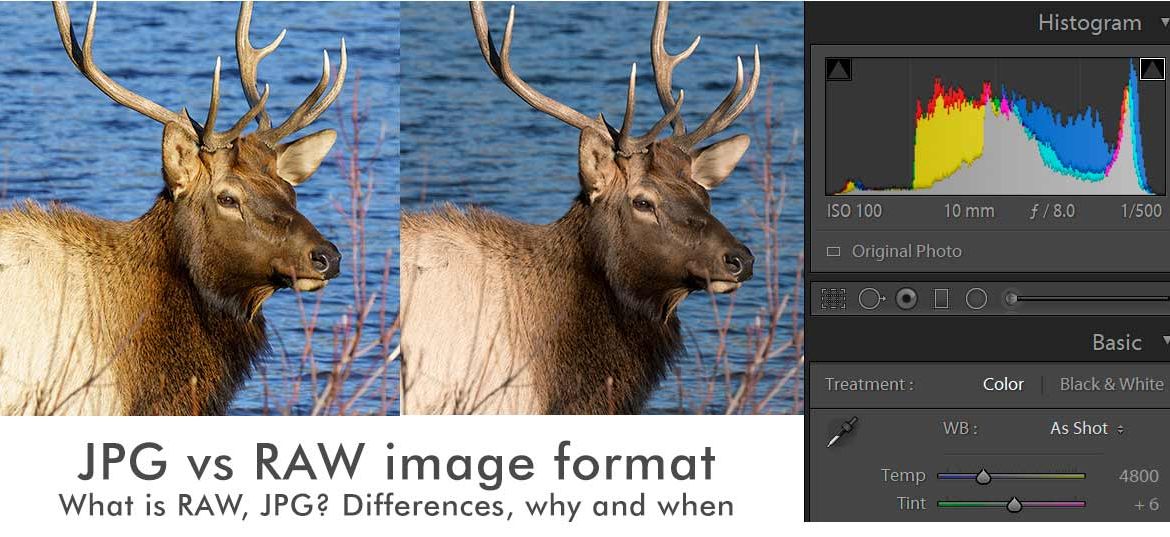
What is RAW image format, when would you use it, and what is the difference to JPG images?
RAW (image file / image format) is a term that is associated with digital cameras (and digital scanners).
Summary:
RAW images are images that require post-processing in an editor. JPG images are processed images that can be used as they come out of a camera. JPG is one format for exchanging and sharing photos, whereas RAW is not suited for that purpose unless files are exchanged among professionals. JPG image format is the most common image format and the best for leisure and beginner photography. Picture Profiles or Creative Styles or Camera Profiles apply to Still JPGs and determine the Look & Feel of the image, they do not apply to RAW. There are also Video Picture Profiles but those are different and are used in advanced and professional scenarios and color grading workflows which is a topic for another article.
As an advanced photographer you would in most situations use RAW instead of JPG — The use of RAW will cause post-processing work, requires more skills, but offers more editing possibilities. It is the format of choice for professionals and advanced individuals.
Mostly the following article refers to Still Images.
Details:
In part a RAW image file can be compared to classic film negatives, however, to me that makes only sense to the point where you want to create an analogy when you start explaining RAW.
In the classic photographic film world you had to get everything ‘right’ in-camera, meaning your exposure, contrasts, colors, and you would also choose a certain film which would ultimately determine your outcome. E.g. the ISO sensitivity, contrast, colors, etc.
A digital camera RAW file goes beyond all of that. RAW contains native sensor data, mostly not interpreted and has not applied a color space or gamma curve — in simple terms, RAW image files record the scene you are photographing ‘as is’, i.e. your camera exposure, focus, lens characteristics, light situations, etc. determine what will be recorded.
A RAW file, as mentioned, does not contain a certain color space which means it looks ‘flat’ and boring. Reason is that you as a photographer have the freedom to interpret the recorded information to your liking: keywords Photo Editing / Video Color Grading
Photo Editing
What that means: you need to open a RAW inage with an image editor that can handle RAW formats. That can either be Adobe Lightroom or Photoshop OR an image processing editor that comes usually as freeware with your digital camera.
Camera manufacturers give you that software in order to allow you the best possible result for your own post-processing of the RAW file and also your JPG (with limits).
RAW files
A RAW file contains more than just the recorded sensor image data:
- a file header with information about the rest of the data file
- Metadata from the sensor / camera: e.g. ISO, Shutter speed, aperture, date/time, GPS info, White Balance, and many other describing information for the image
- the native image data
- Thumbnail and preview versions of the image data
- Picture profile information
- proprietary information
RAW files are proprietary file formats, i.e. they vary from manufacturer to manufacturer. Bottom-line, they are all based on the TIFF file format but are extended in their capabilities to describe the recorded information.
RAW files from manufacturers can (in parts) contain encrypted portions because manufacturers might want to keep some secrets…
DNG is also a RAW format and it is a standardized one that can be used by other manufacturers as their RAW file format. Also in open-source projects.
DJI drone cameras e.g create a DNG file format.
Originally, DNG was introduced by Adobe.
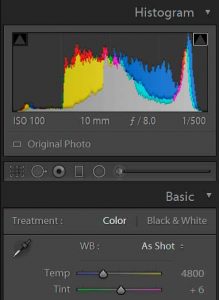
Even though RAW image files contain all the information the camera had at the time of shooting the image, these information are mostly just used as describing infos.
A good example is the White Balance (WB) which is a very important setting in your camera and it determines the overall ‘color and tone warmth’ of your image which ranges from Amber to Blue. In RAW you can set the Kelvin color temperature, whereas in JPG format you can only adapt the embedded WB by adjustment values +-1, +-2, etc. at a time.
That was in the classic photographic film era a critical setting and you definitely wanted to to hit the correct White Balance for your photo.
In the digital world with RAW image data you can change the White Balance in post-processing. The software will initially apply the original setting from the camera but it is just a suggestion.
The RAW image data can be interpreted in different ways and White Balance interpretation is just one feature.
Bottom-line is that the photographer has the freedom to interpret the recorded image sensor data. The limit will be the quality of that recorded data which depends e.g. on
- the image sensor
- image sensor size and pixel resolution and pixel size and pixel capabilities
- the lenses
- and other factors
But not to forget: the sensor also records the photographer’s right- or wrong-doing: e.g. if an image is overexposed or underexposed. You can’t recover blown-out white sections or 100% black sections. Exposure can be adjusted in RAW images but no software can come up with ‘wonders’.
So, make sure your exposure is pretty accurate. You can use Histograms or Zebras as in-camera tools. You can also use the AUTO setting of your camera, if you are a beginner. AUTO is great if you are learning digital photography and AUTO can be helpful if you are doing ‘Shoot & Run’ photography where you can’t or just not want to change settings.
What are JPGs and how come Picture Profiles into play?
A JPG image from your camera is already pre-processed when you see it. That’s the difference to RAW images.
Your JPG will look great (or not) right of-the-box. Full colors, hopefully correct colors, pre-sharpened, adjusted in contrast and brightness.
Processing rules which are determined by camera settings like: Picture Profile, Camera Profile, Creative Style, or however they might be called, are applied to the JPG.
E.g. you can set a Vivid style which emphasizes colors, or you go for a Standard or Neutral style setting to keep colors and contrast as normal as possible, or you might find a Landscape style helpful as it promises to make landscape scenes better.
For video recording you have similar preset profiles which allow to preset the color space and gamma curve and details.
In the Still Image world you would choose JPG over RAW IF you do not want to post-process your photos. You still can do that and make many adjustments, but not as many and not in-depth as you could with RAW format.
Adobe Lightroom vs Adobe Photoshop
If you are using a software like Adobe Lightroom you can easily make such photo adjustments to JPGs but also to RAW image files. It just depends on your skills and where you want to start with your photo editing. The software fits beginners and professionals.
Adobe Photoshop extends the photo editing capabilities of Lightroom, however, as a beginner you would not really see a reason why you need Photoshop as well. Later, e.g. when you want to expand your skills and possibilities for Retouching, 3D, and many other areas, you would add Photoshop to the mix.
+++
Resources & Reference of mentioned and/or used software for this article
Adobe Lightroom / Photoshop CC: Trial versions of Creative Cloud Apps
or if you are just interested in Photography then Lightroom CC and Photoshop CC :
Lightroom as part of the Creative Cloud Photography
I am an Adobe Affiliate and by using those Adobe Links I might get a small commission which helps running this website! It doesn’t cost you anything!
+++


![RGB illumination demonstrated: Red, green and blue lights showing secondary colours with white as FFFFFF [en:User:Bb3cxv, CC BY-SA 3.0 http://creativecommons.org/licenses/by-sa/3.0/, via Wikimedia Commons]](http://www.frankschrader.us/wp-content/uploads/2021/04/wikimedia-RGB_illumination-256x256.jpg)
